
When placing central vacuum inlets, we want to maximize efficiency and accessibility. Aim for locations like hallways and near doors, keeping inlets 12-18 inches above the floor. This height guarantees easy access and matches standard outlet alignment. We should avoid hiding inlets behind doors or furniture, which can block airflow. Using a 25 to 35-foot hose, we can effectively cover most areas without dead spots. Stick around, and you’ll discover more tips for optimizing your system.
Key Takeaways
- Position inlets centrally in hallways and entrance areas to maximize coverage and accessibility.
- Install inlets 12-18 inches above the floor for standard alignment, or 24-30 inches for ergonomic benefits.
- Ensure inlets are easily reachable with a 30-foot hose to cover corners and tricky areas effectively.
- Avoid placing inlets behind doors or furniture to prevent accessibility issues and obstructed usage.
- Use layout drawings or string to simulate hose reach and confirm effective inlet placement before installation.
Selecting Ideal Inlet Locations
You may be interested

10 Best Fast Heating Steam Mops for Effortless Cleaning in 2026
When selecting the ideal locations for central vacuum inlets, it’s essential to ask, “How can we maximize coverage and accessibility?” Proper planning starts with placing inlets at central points, like hallways, which allows for effective coverage using standard hoses of 25 to 35 feet.
Recommended Products

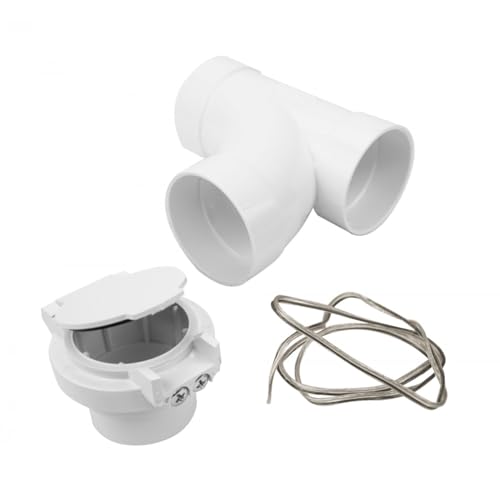
1 x utility valve
Perfect Fit: The Central Vacuum Inlet Valve features a round door that effortlessly fits beam central vac units for the ultimate in convenience
Key Considerations for Inlet Placement:
- Inlet Accessibility: Placing inlets beside doors and at the bottom of stairs helps guarantee easy access without needing to move furniture.
- Hose Flexibility: We should aim for inlets within reach, allowing a 30-foot hose to extend fully—this covers corners, closets, and even tricky spaces. Additionally, having HEPA filters installed in your vacuum system can enhance air quality by trapping allergens effectively.
Height and Alignment Considerations
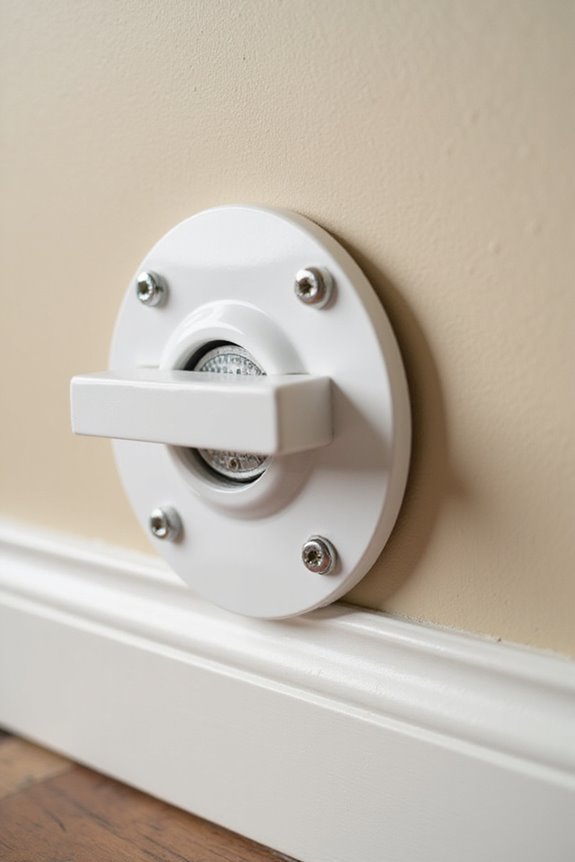
Height and alignment considerations are essential for guaranteeing our central vacuum inlets are both functional and user-friendly. We typically install inlets 12-18 inches above the finished floor, aligning them with standard electrical outlet heights. Alternatively, for better height ergonomics, we can place inlets at 24-30 inches, making connections easier and reducing bending.
To maintain alignment aesthetics, it’s vital to confirm our inlets match adjacent outlets. This creates a neat appearance throughout our home. Additionally, uniform height simplifies user experience, allowing everyone to access the system comfortably. By selecting the right height and aligning inlets thoughtfully, we can create a vacuum setup that’s not just efficient but visually appealing too. Let’s keep these aspects in mind when planning our inlet placements! Furthermore, integrating central vacuum systems with HEPA filtration systems enhances indoor air quality and minimizes allergens during cleaning.
Wall Preparation Techniques

Preparing the walls for our central vacuum system is just as important as considering their height and alignment. Efficient wall preparation starts with proper stud detection. Using a stud finder, we can locate the studs and avoid them, maximizing space in the wall cavity for tubing runs.
Next, we’ll want to secure our low-voltage wiring neatly alongside tubing with electrical tape or cable ties. This keeps everything organized and prevents potential damage.
Finally, when positioning inlet mounting plates, make certain they’re a few millimeters inside the finished wall surface. This prevents obstructions and guarantees a flush installation. Accurate pilot holes prevent wall damage, so we’ll measure carefully. By following these steps, we guarantee an effective and efficient installation for our central vacuum system. Additionally, using a vacuum with HEPA filtration can significantly improve indoor air quality by capturing allergens during cleaning processes.
Recommended Products
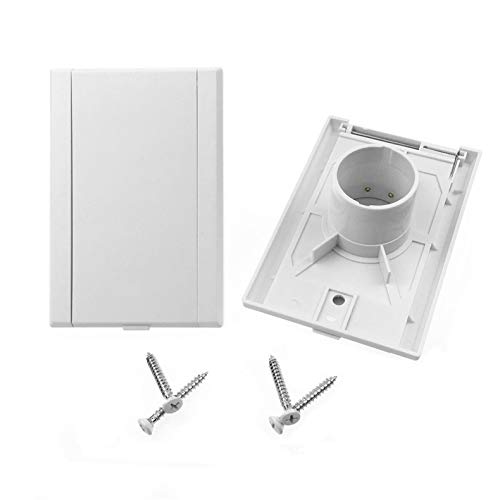
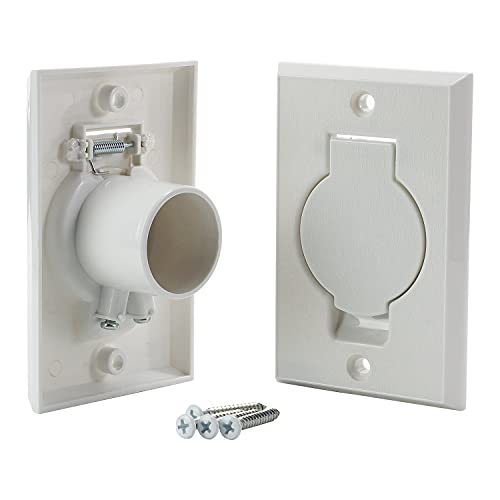
Central Vacuum Wall Plate: 𝐍𝐞𝐰 𝐔𝐩𝐠𝐫𝐚𝐝𝐞𝐝 Central Vacuum Inlet Valve 775595V3W, For Nutone Central Vacuum Cleaner White Automatic Inlet 330W,07-0601-06. 2 Pack Inlet Valve as pictured
Fit Perfectly: The central vacuum wall plate features a Round door. Worked perfectly for Beam central vac units.

CENTRAL VACUUM ACCESSORIES: (Note: This valve plate does not come with an electrical inlet connector and Excluding 120V power sockets) - Standard central vacuum square door inlet wall plate is 4.92 inches high, 3.15 inches wide, and 1.77 inches deep.for the standard 1 3/8" vac hose, whe ther you're upgrading or performing maintenanceon your central vacuum system, these fittings serve as excellent replacement parts, ensuring your system operates smoothly and effectively
Drilling for Inlet Installation
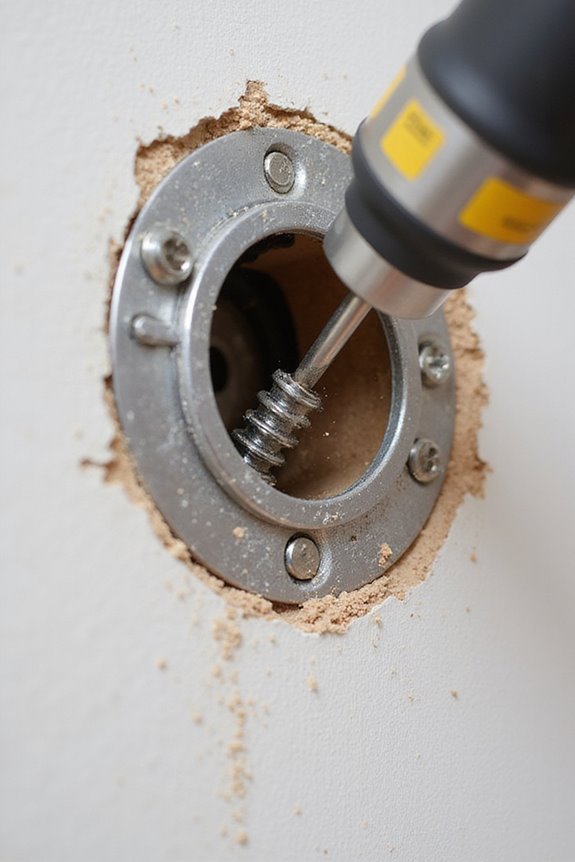
Before we start drilling for our inlet installation, it’s essential to approach the task patiently and systematically. First, we’ll employ pilot hole techniques by using a coat hanger wire, angling it at 45 degrees through the floor. This allows us to locate the wall’s center accurately.
Next, after marking the inlet valve center, we drill a small 3/4″ inspection hole in the sole plate. This wall cavity inspection guarantees we avoid obstructions like studs or plumbing. If all looks clear, we’ll enlarge the hole to about 2-3/8″ for vacuum tubing. Always remember to check for hidden wiring and choose the right location, making sure our inlets are accessible and functional. This careful approach assures a successful installation, just as regular maintenance requirements ensure longevity for cleaning machines.
Piping and Fittings Setup

With our inlet locations marked and ready, setting up the piping and fittings is the next step in the installation process. For effective pipe installation, we typically use 2-inch diameter PVC Schedule 40 piping. This guarantees adequate airflow while fitting types like universal short elbows help us make necessary directional changes with minimal airflow resistance.
It’s important to route our tubing to minimize bends and maintain appropriate alignment with inlets. When we attach fittings, we apply glue only on the outside to avoid clogs. Using mounting plates, we can position our elbows securely and easily behind the drywall. Additionally, adequate airflow is crucial for efficient performance, much like selecting high-quality cleaning machines.
Electrical Wiring Essentials
Electrical wiring is an essential component of installing a central vacuum system, as it guarantees efficient operation and reliable performance. To confirm circuit compliance, we should use 18/2 low-voltage wire for control wiring between inlet valves and the power unit. Each inlet must independently complete a circuit to function properly.
We can choose from wiring techniques like looped or home-run wiring, depending on your setup. Don’t forget to secure wires with wire clamps every four feet to avoid sagging. Connect the power unit to a dedicated outlet, typically at 120 or 240V, following local electrical codes. Finally, always inspect your work to prevent accidents, guaranteeing a safe, efficient central vacuum system that performs at its best for years. Utilizing professional cleaning equipment rentals can also enhance your vacuum system’s effectiveness in maintaining cleanliness.
Recommended Products

HIGHLY CONDUCTIVE: NAOEVO electrical wire uses high-precision oxygen-free tinned copper, The outside diameter of the Jacket is 2.7 mm Typ, and 41 strands of 0.14 mm tinned copper wire are inside each circuit, has lower resistance and higher conductivity

*** NOT TO BE USED WITH electric carpet beater or electrical POWERHEAD ***

35 foot central vacuum hose (1 3/8" diameter) designed to fit standard wall inlet valves and provide for on off control of your central vacuum from the hose handle
Strategic Inlet Placement
When setting up a central vacuum system, strategic inlet placement can make a significant difference in overall performance. By positioning inlets in central locations like hallways and entrance halls, we maximize inlet accessibility, allowing a 25 to 35-foot reach. This setup guarantees we can easily access drapes, corners, and closets without moving furniture.
To further enhance coverage optimization, it’s essential to avoid placing inlets behind doors or furniture, which can obstruct access. Using layout drawings or simulating hose length with string helps confirm reachability, preventing costly mistakes. Placing inlets at a height of 16 to 24 inches guarantees they’re user-friendly and aligns with electrical outlets when powered accessories are involved. Effective planning ensures a seamless vacuum experience.
Determining the Number of Inlets
Determining the number of inlets for a central vacuum system is essential for effective cleaning coverage throughout your home. We should consider inlet spacing carefully to guarantee every corner is accessible with a hose length of 25 to 35 feet. For larger floor areas, more inlets are needed to maintain coverage efficiency. A good rule of thumb is one inlet per 1,500 to 2,000 square feet, adjusted for your home’s layout.
Utilizing tools like string to simulate hose reach helps us identify ideal inlet locations. Avoid obstructions like doors and furniture to guarantee easy access. By planning meticulously, we can avoid dead spots and maximize our central vacuum’s performance.
Frequently Asked Questions
Can I Install Inlets in Ceilings Instead of Walls?
I wouldn’t recommend ceiling installation for central vacuum inlets. It complicates tubing routes, reduces vacuum efficiency, and makes hose usability awkward. Wall placements are far more practical for effective cleaning and ease of access during use.
What Are the Maintenance Requirements for Central Vacuum Inlets?
I’ve found that regular inlet cleaning and performance checks are essential for my central vacuum system’s efficiency. I make it a routine to inspect the inlets and guarantee they’re free from blockages and dirt.
How Can I Hide Central Vacuum Inlets for Aesthetics?
I love using decorative covers and strategic placement to hide central vacuum inlets. By matching finishes and positioning them out of sight, I achieve a clean, stylish look while maintaining functionality in my space.
What Tools Are Needed for Inlet Installation?
When I tackle inlet installation, I rely on several essential tools. I guarantee proper inlet locations using a tape measure, drill, and PVC cutter, applying the right installation techniques for a clean, efficient setup.
Can I Install Inlets in Rental Properties?
Ever wonder if you can install inlets in rental properties? I found that it’s essential to check rental agreements and get tenant permissions from your landlord before starting any installation to avoid unnecessary complications.


